
1
BASE COAT
Start by applying a base coat to smooth over imperfections and to extend the life of your nail art.

2
COLOUR
Pick a nail polish colour with lots of pigment and paint the left side of your nail using a straight brush.

3
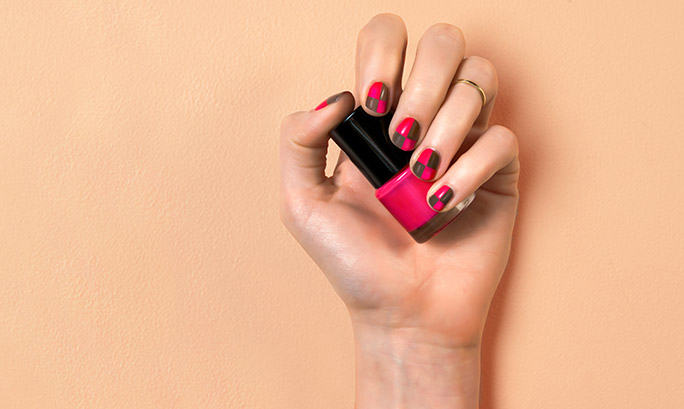
CONTRASTING COLOUR
Choose a contrasting colour. Remember that your two colours have to have enough pigment to cover one other – we chose brown and red. Now paint the right side of your nail with your new colour. Let your nails dry completely before moving on to the next step.

4
Now use the first coloured polish to paint a square on the upper-left hand side of your nail, painting over the second colour that you used. Leave it to dry and then use the second colour to do the same thing, but this time on the upper-right hand side. This will create the checked pattern – see, super easy!

5
TOP COAT
Finish by sealing your nail art with a top coat for a long-lasting effect.
To watch the video click here.


