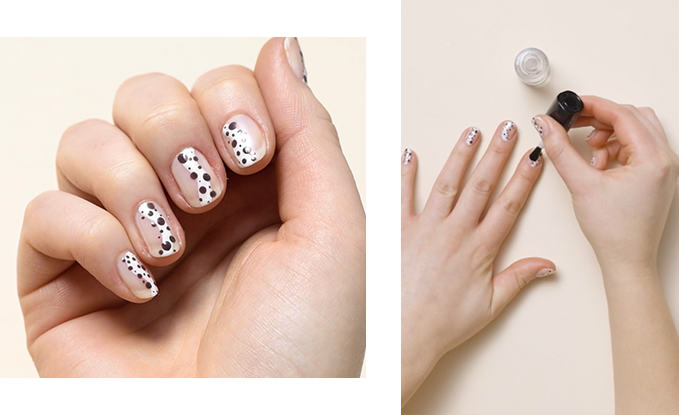
Ready to give your summer style a fun little pick-me-up? Sunglasses aren’t the only accessory you’ve got at your fingertips! Upgrade your manicure game with a new take on polka dots and you’ll feel pampered at the turn of a new season without spending a dime. Just follow our simple step-by-step guide to learn how to perfect the sophisticated polka dot nail:
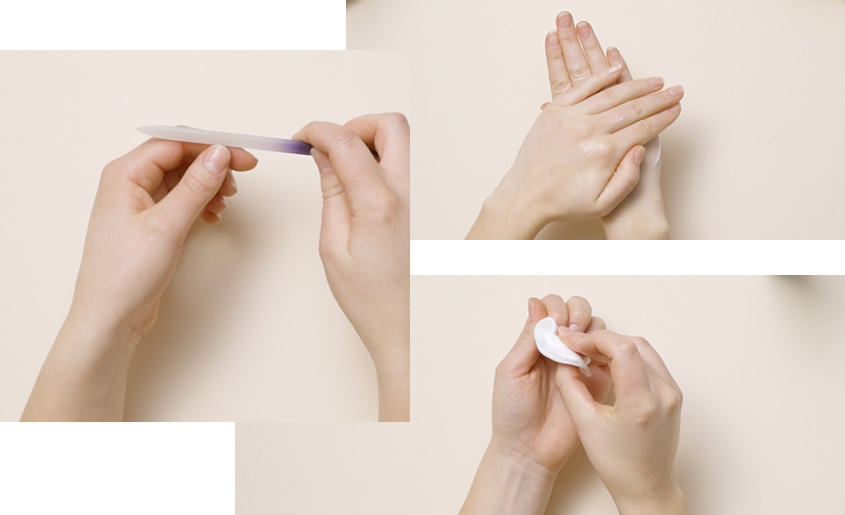
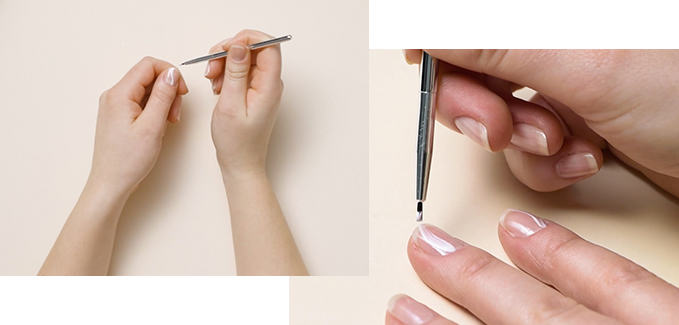
1. File, Moisturise, And Prep
Start by prepping your nails by filing them to a shape of your liking, making sure all edges are smooth. Moisturise your hands with your favourite hand cream to soften the skin around your nail. Lastly, apply nail polish remover to each nail – this will ensure that any grease from your hand moisturiser doesn’t stick, along with removing any trace of dust that will keep the new nail polish from sticking.
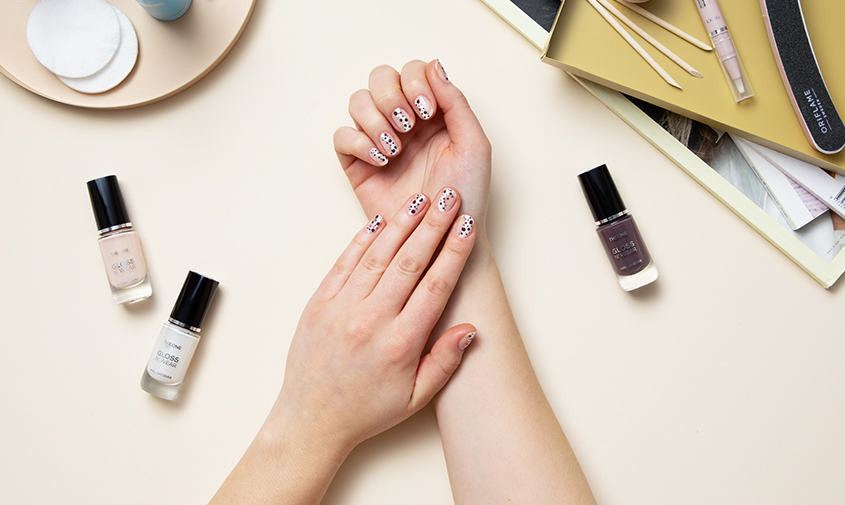
We used The ONE Expert Care Fast & Gentle Nail Polish Remover.
2. Base Colour
When your bare nails are looking good, paint on a base coat (We chose The ONE Gloss N’ Wear Nail Lacquer). If this is something you normally skip (we understand it can seem like an uneccessary extra step!), remember that a good base coat is your best defense against staining, providing a protective layer between the nail and the pigment of the polish. In fact, a good rule of thumb is that the darker the color, the more important it is to use a base coat!
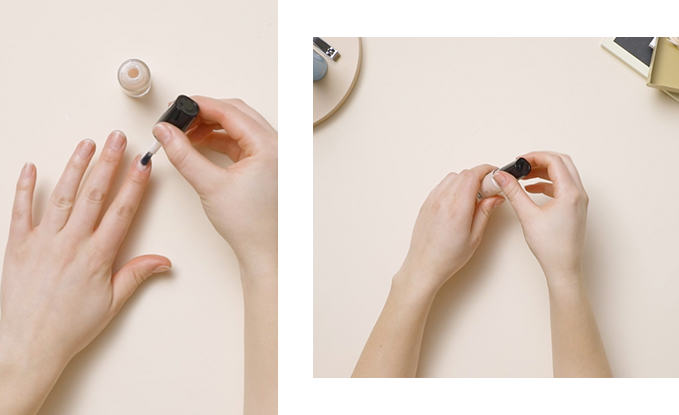
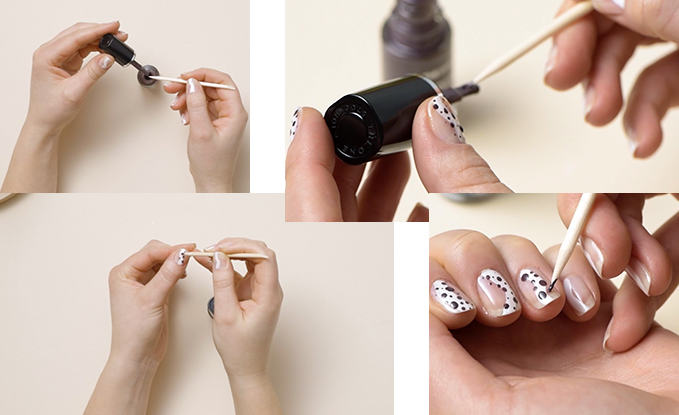
3. Add Your Colour
Paint a wiggly line on each nail. We did this vertically down the centre of the nail using the Nail It Nail Polish Removal Brushes (which double up as a great tool for nail art!) and chose a super sleek shimmery white (Gloss N’ Wear Twinkly White Shimmer) for the line.
4. Create Your Dots
Use a toothpick or your Nail Polish Removal Brushes to paint polka dots (uneven sizes are good!) on top of the wiggly line. We used a beautiful chocolatey brown colour (Smokey Taupe Cream) to complete the brown and white motif - an upgraded polka dot design that screams sophistication! Of course, if you’re feeling more playful, you can always choose your own colours instead!
5. TOP COAT
Leave your nails to dry and seal your nail art with a transparent top coat that will protect and add shine. Ta da!